Need help converting an embedded native Shopify Combined Listings to a Rubik Combined Listings? Typically, we are called to complete this function because a Shopify Plus merchant either a) wants to use an app to provide more features to go around the limitations of the native app and combined listings interface; or b) are downgrading from Shopify Plus to Advanced or Grow (savings of $2,300+/yr) and are suddenly looking for a solution to display their combined listings since the native functionality is not available on these lower-level plans.
Rubik Combined Listings is compatible with every Shopify plan, from the free plan all the way up to Plus. Including the downgraded plans for Plus customers, we have a free plan that includes 5 groups and 100 AI credits per month. Our pricing is flat and fair – same app, same functionality – across every Shopify plan, including Basic, Grow, Advanced, Plus.
This guide covers step 3, that is: Export native CL groups, install and apply Rubik, rebuild (using either manual or AI Magic Fill methods), and verify the results – ideally before you pay up to continue using the Plus features or disable the native CL feature entirely.
Disclosure: I build Rubik Combined Listings. Data from the Shopify App Store as of April 2026.
In this post
- Why move off native
- Pricing compared
- Step 1: Export your native CL groups
- Step 2: Install Rubik
- Step 3: Rebuild in Rubik
- Step 4: Verify on storefront
- Step 5: Switch over
- Gotchas
- FAQ
Why move off native
Shopify’s own Combined Listings product is free. (Sort of.) It comes with your Shopify Plus account, which costs $2,300 per month for the highest tier of service. The rating? 3.3 out of 5 stars based on 30 reviews. The worst of any combined listing app available on the App Store. What’s so bad about it?
- Customization ceiling. Native gives you limited swatch styles. Want per-group styling? Want image swatches on one group and color circles on another? You can’t.
- Plus-only. If you leave Plus, you lose the feature entirely. That’s a hard lock-in.
- No AI setup. Everything is manual. For a catalog of 500 products, that’s a weekend of clicking.
- No bulk tools. No title-pattern grouping, no tag-based grouping, no metafield-based grouping.
- Limited theme compatibility. Works on Online Store 2.0 themes, but customization is at the mercy of the theme developer’s swatch implementation.
For more information see combined listings without Plus and Rubik vs native full comparison.
Pricing compared
| Shopify Native CL | Rubik Combined Listings | |
|---|---|---|
| Requires Plus | Yes ($2,300+/mo) | No |
| Free tier | No (bundled w/ Plus) | Yes ($0, 5 groups) |
| Starter | – | $10/mo (100 groups) |
| Advanced | – | $30/mo (500 groups) |
| Premium | – | $50/mo (5,000 groups) |
| Customization | Limited | 70+ CSS variables, per-group |
| AI setup | No | AI Magic Fill + visual assistant |
| Bulk grouping | No | Title pattern, tags, metafields |

Step 1: Export your native CL groups
When using Combined Listings on Shopify, all products are organised in a parent child tree structure with products stored as sub groups of parent products. When exporting it’s best to go into the admin for each parent product and note down the child products (you can copy and paste these into a spreadsheet). Then break these out into individual lines with the parent product name, the child product handle and option values.
When you have dozens of parents, use the Shopify Admin API (GraphQL) to export them all. You can use “productsByIds” or the “listings” connection on a combined listings object to get all the parent information in one request. Export the result to a CSV (it’s not pretty, but then it’s Shopify’s fault for not giving you an export button for this native feature).
Step 2: Install Rubik
Install the Rubik Combined Listings and follow the onboarding steps; turn off the theme app embed and enable the native Combined Listings feature in your store settings – disable it at the end.
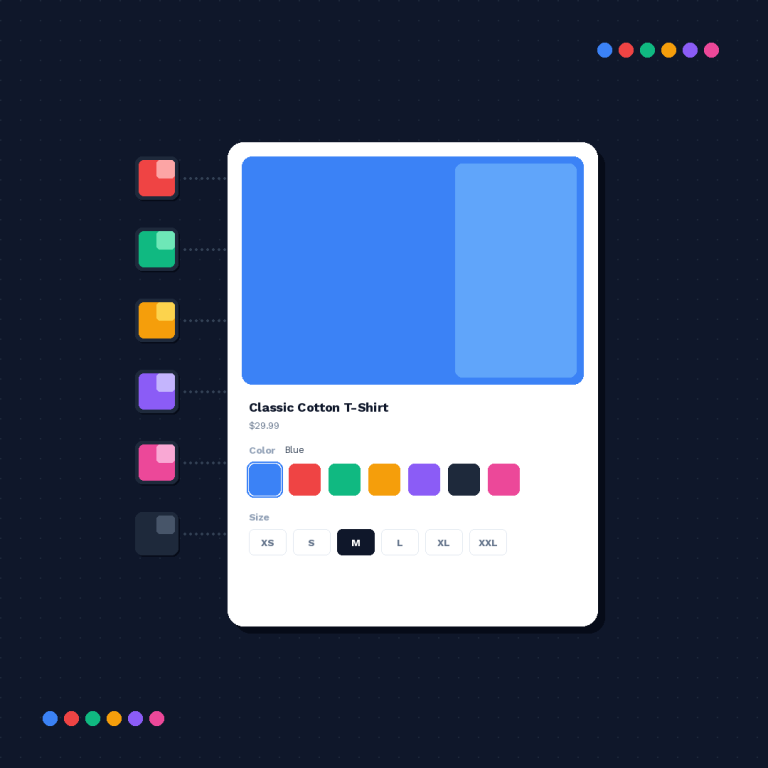
Step 3: Rebuild in Rubik
Two paths again. AI Magic Fill or manual.
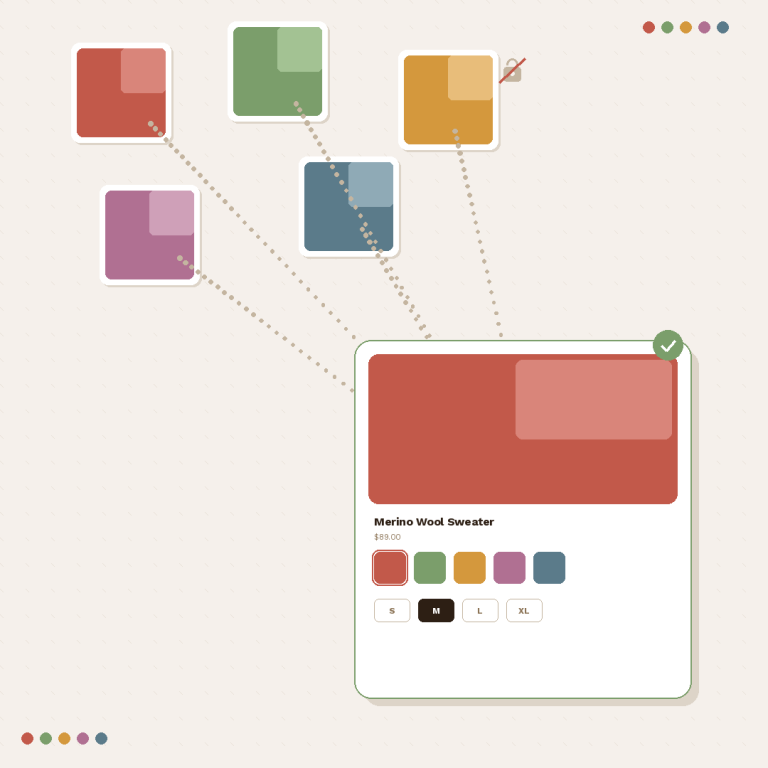
AI Magic Fill. Open up the AI Magic Fill application and have it automatically scan your catalog for similar products, generate proposed groups and then review and approve them. For those who are transitioning from a native CL store, if you already have a clean system of naming parent and child products, the Magic Fill function does a pretty good job of prepopulating your groups.
Manual. You can use your spreadsheet to create groups, then add products, and option values to each group. This is faster than using the AI review for a small number of groups.
Even for a large number of products, consider bulk grouping by tag also, if your products have a group tag.
Step 4: Verify on storefront
Native swatches in Shopify are natively enabled within the product form in the theme. However, your Swatch app (Rubik’s in this case) is also embedding swatches into the product. These can co-exist within the product details page and possibly even within the product options. Double check the swatches look correct on at least 10 product pages.
- Open 10 product pages spanning different groups.
- Click Rubik swatches. Navigation correct?
- Out-of-stock product behavior matches your settings?
- Mobile viewport still readable?
- Page builder custom templates (PageFly, GemPages) working?
Step 5: Switch over
To remove native swatches? You have two options, depending on the theme. Option A: Go into your product template and just remove the native variant picker. Option B: Unpublish the parent products (if you have them – these are the parent products that natively group your children products). Rubik does not need parent products, it groups the children products directly via metafields.
If you were paying for Plus, make sure you finish reconstructing from the Rubik scramble before you downgrade from Plus, since the native CL feature goes away on downgrade and you wouldn’t want a non-native scrambled Rubik cube.
Gotchas
- Parent products. Native CL creates parent products that you may need to unpublish or delete after migration. Don’t delete them until Rubik is verified.
- URL changes. If customers bookmarked the parent product URL, redirect it to one of the child products in Shopify’s URL redirects.
- Downgrading from Plus. Finish migration first. Verify. Then downgrade. Don’t do it in the other order.
- Theme template edits. If your theme has native variant picker code hardcoded, you may need to remove that block in theme customizer.
Watch the tutorial
See the live demo store, watch the tutorial video, or read the getting started guide.
FAQ
Does Rubik work without Shopify Plus?
Yes. Rubik supports every Shopify plan including Free at $0/mo (supports 5 stores).
What happens to my native parent products?
Rubik does not need these, you can either unpublish or delete them after migration. It’s also a good idea to add 301 redirects to the old parent URLs in case of broken bookmarks or links.
Can I downgrade from Plus after migrating?
Yes. Rubik is working around the clock. Try to complete migration and verification before you rollback.
Is customization really better?
Rubik offers exposure to 70+ CSS variables for numerous per-group visual settings, including settings for options like images swatches, color swatches, standard buttons, and dropdown buttons.
Does Rubik handle out-of-stock products?
Yes. OOPS is implemented in real time by referencing the meta object as you work. You can choose to have out of sync swatches appear as Dimmed, Greyed or St StrikeThrough.
Will my SEO be affected?
If you direct the old parent URL correctly to the new location, no. See the canonical and hreflang guide.
How long does the migration take?
An hour to a few hours depending on the size of your product catalog. This is significantly faster to do with AI Magic Fill.