This is a detailed tutorial on combining listings in Shopify, and is not an overview or an introduction to the topic. It’s a step by step guide on setting up the combined listings app and publishing a group in about 15 minutes on a clean store. Watch at your own pace, I’m just keeping an eye on the clock for you.
We’ll use Rubik Combined Listings Swatch. This solution is Shopified approved and works on all Shopify plans, no Plus needed and we’ll go ahead with the installation.
Ready? Let’s go step by step.
In this post
- Step 1. Install the app
- Step 2. Activate the theme embed
- Step 3. Create your first group
- Step 4. Add linked products
- Step 5. Fill option values
- Step 6. Set swatch colors
- Step 7. Customize appearance
- Step 8. Save and preview
- Step 9. Bulk setup with AI Magic Fill
- FAQ
Step 1. Install the app
To Install go to the Shopify App Store and search for “Rubik Combined Listings”. Tap “Install” and agree to the necessary permissions (products read and write, metafields, and/or theme read). The installation process should only take around 20 seconds. You will then be brought into the app where you will see a welcome screen.
This is the install screen asking for payment (it doesn’t on the actual app however) You should note that Rubik offers a free plan and you won’t be asked for your card details until you create over 5 groups.
Step 2. Activate the theme embed
– this is a super common step that everyone seems to miss – the app needs a theme embed in order to inject the swatches on your product page. To activate the embed, click on “Activate in theme” within the welcome card. Shopify will then open up the theme editor with the Rubik embed pre-selected – make sure it is active and then click Save in the top right of the screen.
Skip this section at your own risk – if you don’t complete it, then you’ll never see any swatches rendered on your store and will be confused as to why the product page appears to be malfunctioning
Step 3. Create your first group
Now create groups in the app for your products organized by attributes. Back in the app, click “Create group” and give the group a name the you will remember. If you are organizing t-shirts by color name the first group “Hero tee colors” for example. This name will only be used internally and shoppers will never see it.
Define the option name. This is what shoppers will actually see when making selections (e.g. “Color”, “Fabric”, “Scent”, etc). Keep it as short as possible and ideally just one word.
Step 4. Add linked products
Click on the “Add products” button and a searchable list of products from your store will be viewable. Select the individual products that you would like to be included in the group, for the hero tee in this example, all 8 colors were selected.
There is no hard limit to how large a group can be, however we generally recommend keeping groups sized under 50 candles for optimal functionality. Keeping 200 red candles all in one group can be very cumbersome, it would be recommended to separate them out by collection or scent family.
Step 5. Fill option values
Each product colour option value i.e. “Blue” or “Red” for this example. You can type these in manually or click on the AI Magic Fill button on the right and let Claude automatically work out the option values for you from the product title, description and images.
On small groups manual is faster, but on a 30-product beauty line like the one shown above, our AI kicks butt. For each product filled, it costs 1 credit and on our free plan you get 100 credits for free.
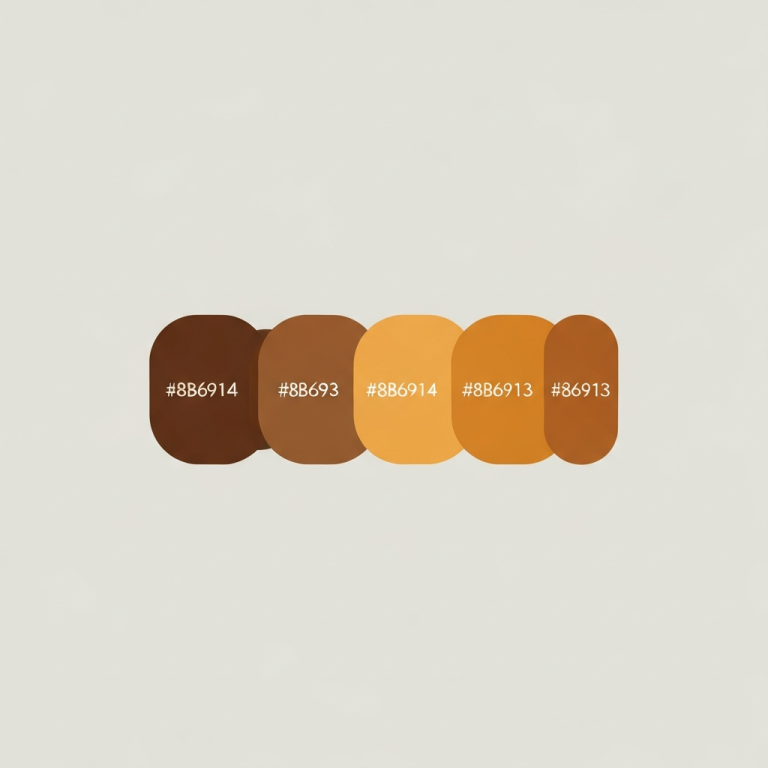
Step 6. Set swatch colors
For each option value you’ll need to create a representation of it. There are 3 options for how to do this: a solid color (using the color picker) | an image swatch (uploading your own pattern or fabric photo) | the first image of the linked product’s variants.
For “Blue” on a tee, make sure that the blue you select actually matches the color of the product image. For a “Charcoal” or “Black” option, ensure that the swatch isn’t a lighter version of the two. Many merchants make this common mistake and end up removing the alternative image options. Instead select the swatch from the actual product and select a pixel from the product image with any eyedropper tool.
Step 7. Customize appearance
To edit any of these Appearance settings, switch to the Appearance tab. Each group of settings has their own specific settings for shape, size, color, stroke width, stroke color, and inter-swatch spacing. Also adjustable are settings for the label that identifies each color swatch, which can be set to appear above, below, to the side of, or even completely hidden.
It also comes with 70+ CSS variables that you can modify to get a pixel perfect look. But honestly, you probably won’t need to. The default looks are perfect as they are on every theme we’ve applied. So we recommend sticking with the default look and adjust it later.
It’s worth noting that you should use the same border radius as your WordPress theme for the buttons. In your current code, the rounded corners of the swatches are different from the rounded corners of the “Add to Cart” button. They should be the same, typically the same border radius as the theme’s buttons. If the “Add to Cart” button is a box (i.e., not fully rounded), the swatches should also be boxes. This will give a more native feel.
Step 8. Save and preview
Hit Save, then Preview on storefront. Open tab should go to one of the products you listed. Scroll down to options with new swatch row. Navigate to next swatch option. It should take you to the next of the listed products. URL should update between products as well as the photos.
Why you don’t see anything? 95% of why “it’s not working” issues are one of 3 things. 1) Theme embed not activated. 2) Group is PUBLISHED not DRAFT. 3) You’re viewing a product that’s NOT in the group.
Step 9. Bulk setup with AI Magic Fill
After analyzing one group, I was really excited to apply the process to the rest of my product collections. I had 40 groups to process. The wizard is easily invoked from the bulk mode. The steps are the same as for my initial group – start with selecting the collection, then choosing the options and triggering the “Auto-group with AI” function. Claude does an excellent job of identifying and grouping similar products using a combination of product title, tags, metafields and image characteristics.
Review proposed groups, accept good ones, edit nearly good ones, reject bad ones, then bulk-publish. Spend a few minutes reviewing proposed groups and then spend a few more minutes editing the nearly good ones before mass-publishing. For a 200 product store, this can save hours by automating a task that would take half a day to do manually. Read more about bulk grouping combined listings here.
See it running
See the live demo store, watch the tutorial video, or read the getting started guide.
FAQ
How long does this tutorial take end to end?
15 minutes to complete the first group when completed in a retail setting, subsequent groups 2-5 minutes per group or less with AI Magic Fill bulk mode.
Do I need to edit theme code for this tutorial?
No embedded app theme for Rubik. Since No. Rubik uses the app embed system, you won’t need to edit the theme.liquid file. Most theme’s support app blocks (if your theme and store are relatively new, this should be the case).
What if my theme doesn’t support app blocks?
You can place the Rubik block on your site via a shortcode div directly into your favorite page builder (Beae, EComposer, Foxify, GemPages, Instant, PageFly, Replo) or add a single line of code in your theme.liquid.
Does AI Magic Fill work on non-English product names?
Yes. Claude can process product names in German, French, Dutch, Turkish, Portuguese, Spanish, and Italian. Claude processes names in these languages natively; no translation is required.
Can I undo a bulk group setup if I don’t like it?
Yes. All groups can be deleted or modified. And the bulk wizard offers a preview step before anything is published so you can review before you commit.
Where do I go if a step in this tutorial doesn’t match my screen?
These directions were written with reference to the directions on rubikswatch.com, but the app has got versioned UI, so the official page may have slightly different labels for buttons etc., but the steps to perform actions should be the same. Check the official docs at rubikswatch.com/docs.
Will my existing product page layout break after step 8?
Shadow DOM isolates the generated CSS so it does not interfere with your theme, and so your existing layout is left unchanged.