Grouping products on Shopify means connecting separate product listings so shoppers can switch between them with swatches. A customer browsing the navy hoodie sees swatches for gray, olive, and burgundy. They click olive. They land on the olive hoodie page with olive-specific images, description, and pricing.
But before you start creating groups, you need a plan. Stores that jump straight into setup often end up with inconsistent group names, mismatched option values, and a confusing catalog. This guide covers how to think about product grouping before touching any settings.
In this post
- Why group products at all?
- When to use combined listings
- Naming conventions for groups
- Planning groups before setup
- Using the grouping planner tool
- Analyzing your collections first
- Common grouping mistakes
- Video walkthrough
- Frequently asked questions
- Related reading
Why group products at all?
Shopify gives you two ways to organize product variations: variants within one product, or separate product listings. Variants are simpler but limit you. You get one URL, one meta title, one set of images, and a 100-variant cap. Separate products each get their own URL, their own image gallery, and their own SEO metadata.
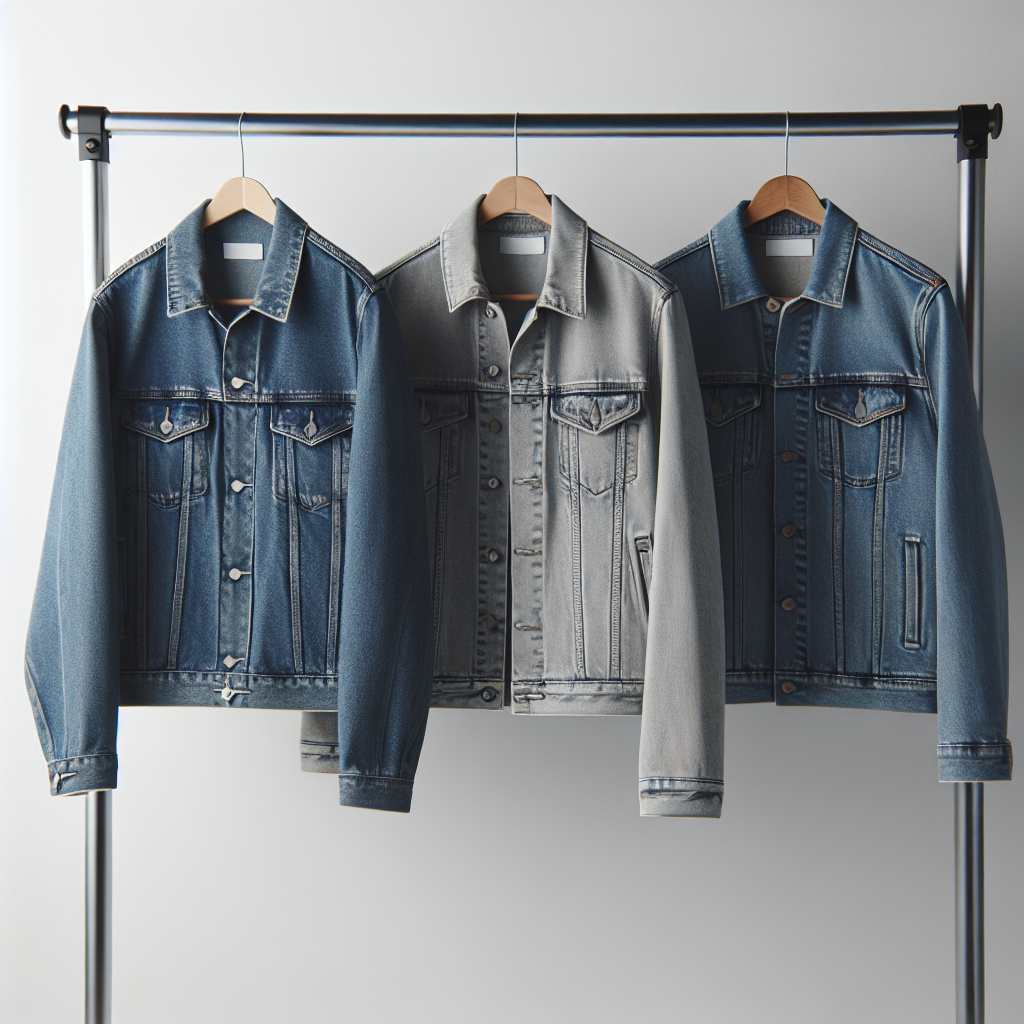
The problem with separate products is navigation. Without grouping, a customer on the blue jacket page has no idea you also sell it in red, green, and charcoal. They would need to go back to the collection page and scroll until they find the other colors. Most people do not do that. They leave.
Product grouping fixes this by adding swatches that link separate products together. The customer stays in the same visual flow and can switch between options instantly. On collection pages, swatches appear directly on product cards so shoppers see all available colors at a glance. For a deeper explanation, see the combined listings explained guide.
When to use combined listings
Not every product needs grouping. Here are the cases where combined listings make the most sense:
- Color variations with different images. T-shirts, hoodies, bags, shoes. Each color has its own photoshoot. Separate products let each color have a clean image gallery.
- Material or finish options. Furniture, jewelry, phone cases. A walnut desk and an oak desk look completely different and deserve separate product pages.
- Scent or flavor collections. Candles, skincare, food products. Each scent might have different packaging and a different description.
- Size-based products with different pricing. Small, medium, and large versions of the same product where pricing varies significantly.
- Products hitting the variant limit. If you have 10 colors and 5 sizes, that is 50 variants. Multiply by a few more options and you hit Shopify’s limit fast. Separate products grouped by color solve this. Learn more in how combined listings solve the variant limit.
If your products look identical across options (like a digital download in different file formats), grouping adds complexity without much benefit. Stick with variants in those cases.
Naming conventions for groups
Consistency in naming matters more than you might think. When you create groups in Rubik Combined Listings, each group gets a name, and each product within the group gets an option value. These names affect how swatches display and how your team manages the catalog later.
Group names. Use the base product name without the color or option. “Classic Hoodie” not “Classic Hoodie – All Colors.” Keep it short. This name is for internal organization. Customers do not see it.
Option values. These are the labels that appear next to swatches. Use plain color names: “Navy,” “Olive,” “Burgundy.” Avoid internal codes like “NVY-2024” or “Color #3.” Customers see these labels, so write them the way a shopper would say them.
Product titles. Include the option in the product title for SEO. “Classic Hoodie – Navy” ranks for “navy hoodie.” “Classic Hoodie – Olive” ranks for “olive hoodie.” This is one of the big advantages of separate products – each gets its own title tag. The separate products vs variants SEO guide covers this in detail.
Planning groups before setup
Before opening the app, sit down with a spreadsheet. Seriously. Even a simple one saves hours of cleanup later. Here is what to map out:
- List all products that belong together. Go through your catalog and identify which products are variations of each other. If you sell the “Urban Backpack” in 6 colors, those 6 products form one group.
- Decide the option type. Is this a Color group? A Material group? A Size group? Each group should have one option type. Do not mix Color and Size in the same group.
- Check product images. Each product in the group should have at least one image. Missing images create blank swatches that look broken.
- Verify pricing consistency. Products in a group can have different prices, but large price differences might confuse customers. A $25 t-shirt grouped with a $200 jacket is probably two separate groups, not one.
- Count your groups. This determines which plan you need. Rubik Combined Listings offers: Free ($0 for 5 groups), Starter ($10/month for 100 groups), Advanced ($30/month for 500 groups), and Premium ($50/month for 5,000 groups).
If you have 200+ products to group, look into bulk grouping. It uses title pattern detection to create groups automatically based on how your products are named.
Using the grouping planner tool
The Rubikify Grouping Planner helps you organize products into groups before setting them up in the app. Paste your product titles, and the tool identifies patterns and suggests groupings.
For example, if your products are named “Leather Wallet – Black,” “Leather Wallet – Brown,” and “Leather Wallet – Tan,” the planner detects the shared base name and suggests a “Leather Wallet” group with Black, Brown, and Tan as option values. It also flags products that do not fit any pattern so you can decide whether they need manual grouping.
This is especially useful for stores with hundreds of products. Instead of scrolling through your Shopify admin trying to remember which products go together, you get a structured list in seconds. If your products lack a consistent naming pattern, the tool will tell you that too – a signal that you should rename products before grouping.
Analyzing your collections first
Product groups and collections are related but different. Collections organize products for browsing. Groups connect product variations with swatches. A good strategy aligns both.
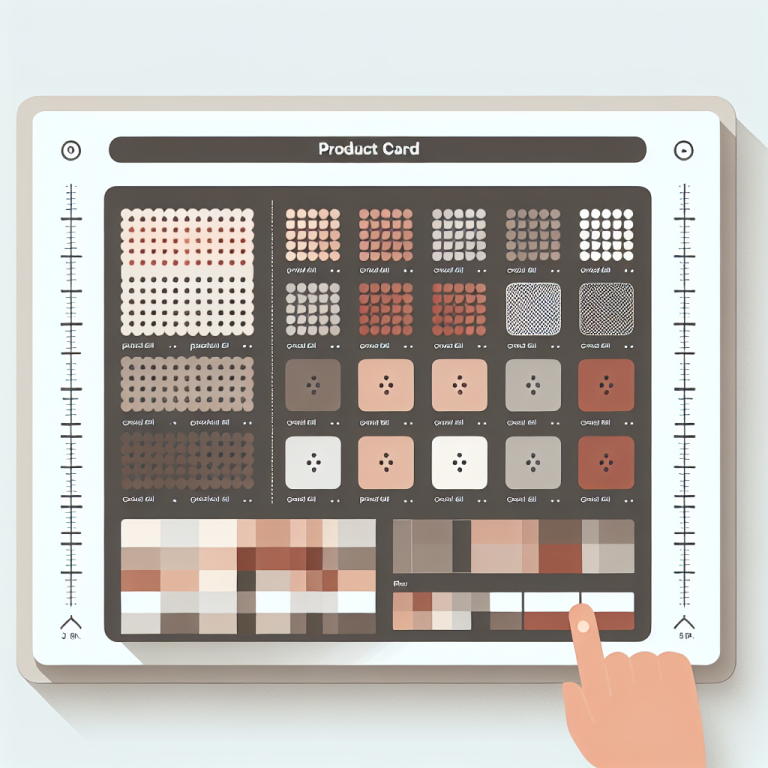
Use the Collection Analyzer to review your current collection structure. It shows you which products appear in which collections, helping you spot opportunities for grouping. If you see 8 versions of the same candle spread across your “Candles” collection, that is a group waiting to happen.
The analyzer also helps with swatch display on collection pages. When products in a group appear on the same collection page, their swatches show up on product cards. Customers can preview colors without clicking into each product. This directly increases engagement and reduces bounce rate. Read more about how grouping interacts with collection filters in the collection filters guide.
Common grouping mistakes
Grouping unrelated products. A red backpack and a red wallet are both red, but they are not variations of the same product. Group by product type, not by color across types.
Inconsistent product titles. If one product is “Classic Tee – Navy” and another is “Navy Classic T-Shirt,” bulk grouping tools cannot match them automatically. Standardize titles before grouping.
Too many products in one group. A group with 30 options creates a wall of swatches. If you have that many options, consider using categories and subgroups to break them into logical sets (e.g., group by color, then let each product handle size as a variant).
Ignoring mobile. Swatches look different on mobile. Ten swatches fit comfortably on desktop but overflow on a phone screen. Plan for mobile from the start. The app handles overflow with “+N more” indicators, but fewer swatches per group still give a cleaner mobile experience.
Skipping variant images. Combined listings handle product page swatches that link between separate products. But if each product also has size or material variants, you might want variant-specific image filtering on the product page. For that, check out Rubik Variant Images, which filters product images based on the selected variant.
Video walkthrough
This video walks through the process of creating product groups in Rubik Combined Listings, from selecting products to configuring swatches.
Putting it all together
A solid grouping strategy follows this order: audit your catalog, standardize product titles, identify which products form natural groups, decide option types, check image coverage, then set up groups in the app. If you have a small catalog (under 20 groups), you can do this manually. For larger stores, the grouping planner and bulk grouping tools cut the work dramatically.
Once your groups are planned, the actual setup takes minutes. Follow the step-by-step setup guide to get swatches live on your store. The app uses a metafield-based architecture with no external API calls, so swatches load with your page – no delay, no extra requests.
Need help deciding between separate products and variants? Read our product listing strategy guide on CraftShift for a broader perspective on catalog organization.
Frequently asked questions
What is product grouping on Shopify?
Product grouping connects separate Shopify product listings with color or option swatches. Customers can switch between products (like different colors of the same hoodie) without going back to the collection page. Each product keeps its own URL, images, and SEO metadata.
How many product groups do I need?
Count the number of base products that have variations. If you sell 50 different products and 30 of them come in multiple colors, you need 30 groups. Rubik Combined Listings starts free with 5 groups, then $10/month for 100, $30/month for 500, and $50/month for 5,000.
How should I name my product groups?
Use the base product name without the color or option suffix. “Classic Hoodie” works. “Classic Hoodie – All Colors” does not. Group names are internal – customers see option values (like “Navy” or “Olive”) and swatch colors, not the group name itself.
Do I need Shopify Plus to group products?
No. Shopify’s native Combined Listings feature requires Plus ($2,300+/year). Rubik Combined Listings works on every Shopify plan – Basic, Grow, Advanced, and Plus.
Can I group products in bulk?
Yes. Rubik Combined Listings supports bulk grouping using title pattern detection. If your products follow a naming pattern like “Product Name – Color,” the app can create all groups at once. See the bulk grouping guide for details.
Does product grouping affect SEO?
Grouping with combined listings is actually better for SEO than using variants. Each product keeps its own URL and meta data, which means more indexed pages and more keyword opportunities. The app uses metafield-based data with no external API calls, so it does not slow down your store.
How long does it take to plan and set up groups?
Planning takes 30 minutes to a few hours depending on catalog size. Use the grouping planner to speed this up. Actual setup in the app takes about 5 minutes per group manually, or under 1 minute with AI Magic Fill.