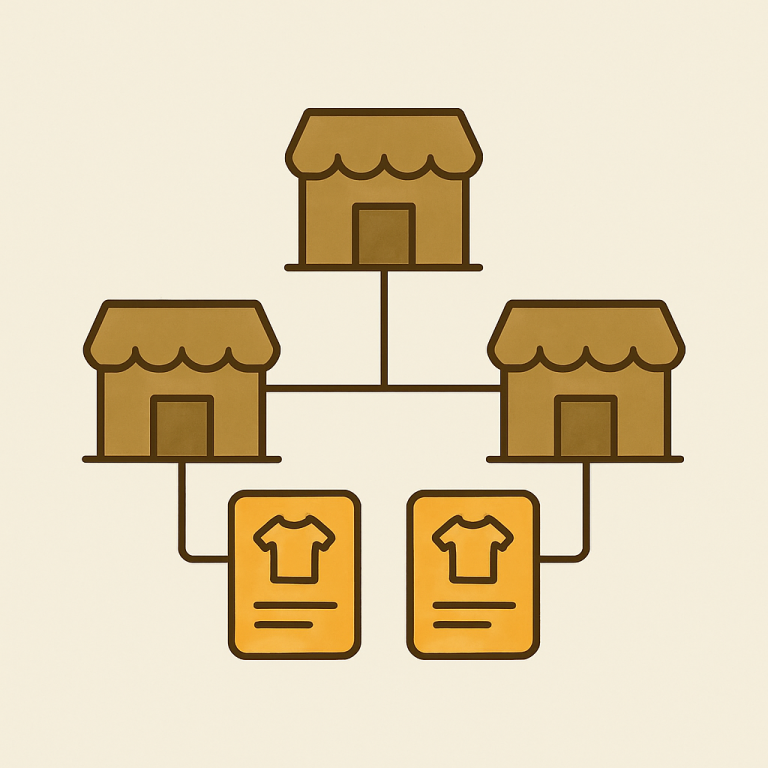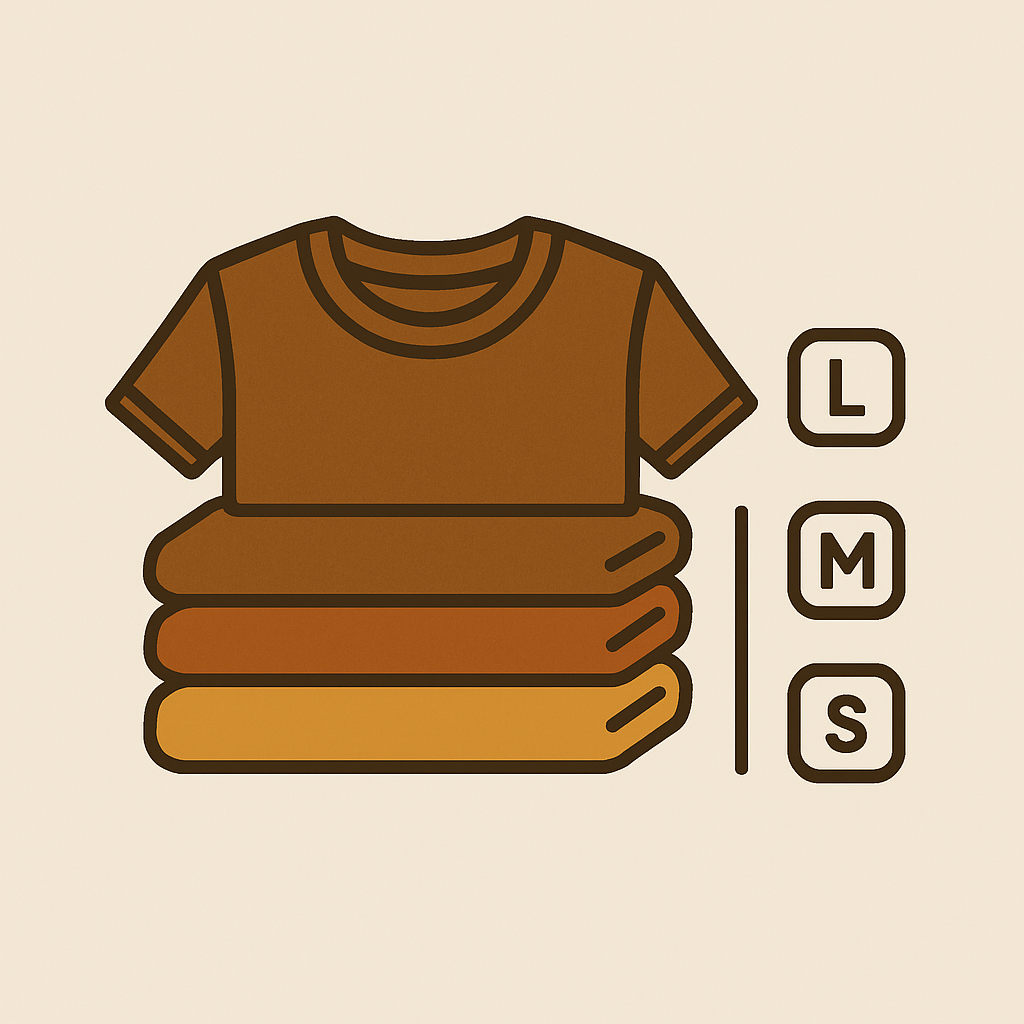
Custom apparel stores are the quickest to hit a wall of pain relative to other Shopify product categories. For one given hoodie design, there are 6 sizes, 12 colors, 3 fits (regular, slim, oversized), and 2 fabric weights. This means there are 432 variants of one single product (432 = 6 * 12 * 3 * 2). The shop using the standard plan can only have 100 variants, so they split the product into 4 separate products (4 x 108 = 432). This results in 4 “Classic Logo Hoodie” product listings with no context or guidance for the potential customer on which one might be best.
VARIANTS: And that is before you add print location options. Front print, back print, sleeve print. Or fabric type. Cotton, fleece, French terylly. The math hurts. But the variant math hurts a lot more. So in the end you just have to make individual products out of all the combinations. Unfortunately in the Shopify interface you can only create a product from a template, and you have to sell them all out of the same catalog. Thus the combined listings.
This is a step-by-step walkthrough of how I organized the products, where the variant count problem occurred, and how I set up the swatches for how products are actually organized in custom apparel stores.
In this post
- The 100 variant cap problem
- Fit and fabric as separate products
- Color swatches on collection pages
- Grouping when you have hundreds of designs
- Print-on-demand and POD apps
- Frequently asked questions
The 100 variant cap problem
Shopify standard plans allow for 100 variants per product, but Apparel artists are sad to learn that Shopify Plus only raises that cap to 2048 variants. This means most apparel stores will reach their variant cap before they reach the price of a Shopify Plus plan (since most stores won’t need the heavy-duty capabilities of Plus). That hoodie with 6 sizes and 17 colors? 102 variants, way over the cap. And adding a fit option will blast right through that cap five times over.
Eventually every brand uses splitting i.e. creating different product codes for different fit variations. So one product becomes the “Classic Logo Hoodie – Regular Fit” and another becomes the “Classic Logo Hoodie – Slim Fit”. Then, someone else launches an “Classic Logo Hoodie – Oversized”. Each product has 6 sizes however many colours you have in the 99 variants limit. Your inventory and pricing works, your shopper experience is rubbish.
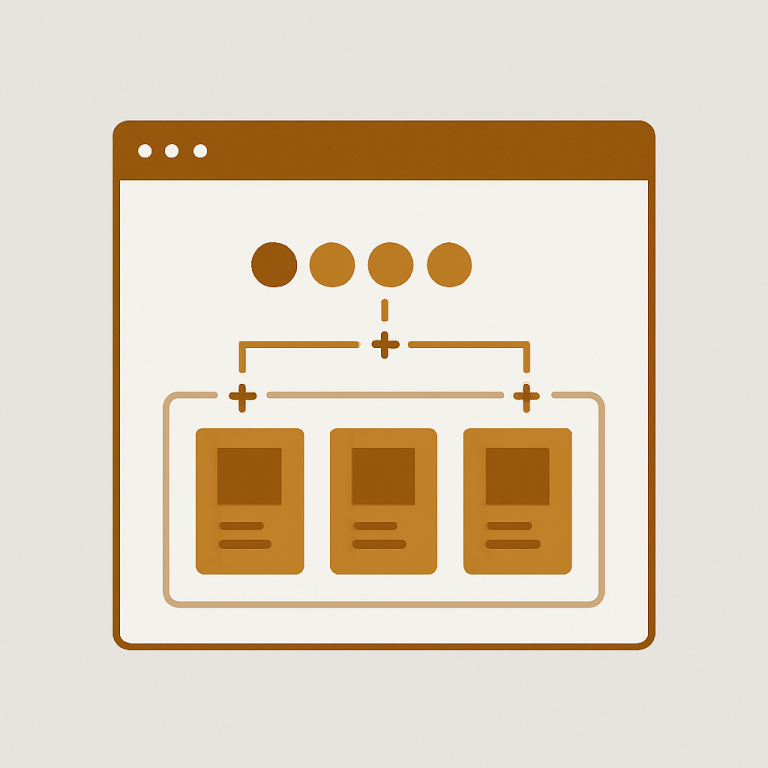
Combined listingsconnect the splits within the 3 fit products “Classic Logo Hoodie”. These are organised under a single parent product, with 3 visual switches on the size picker allowing customers to easily compare the Regular, Slim and Oversized fits. Each switch loads the correct product, with each product having its own variant set under 100 clean variants.
Want the details on the variant cap and Plus limits? Read on how we handle 2048 variants and combined products as a non-Plus Shopify store.
Fit and fabric as separate products
Most custom apparel retailers mess up here. They try to put fit, fabric and weight into the Shopify variants and then they’re mad at their products when it breaks. Fit, fabric and weight should be product axes, not variant axes.
Why?: Because when you have multiple products, each with their own fit and fabric, they are going to have different costs, different weights, and different shipping classes. A French terry hoodie is going to weigh more than a fleece, so its shipping costs will differ. A product made with cotton-poly may be less expensive than a 100% ringspun product, so that would differ in pricing as well. This is not something you want to force into the same product, because it is probably hiding from your fulfillment workflow.
Split up products that are very similar. Then make one listing that contains all of them, organised in categories and subgroups. Three drop down pickers, each with its own selection of options, each visible and easy to use. For example: first row picks style (eg fitted, cropped, elastic), second row picks fabric, and third row (which is actually the normal variant picker for the actual product) picks size and colour.
Color swatches on collection pages
Apparel browsing happens on collection pages. Users are looking for information such as available colors before they click to view an item. If only one color is displayed for a single hoodie, users may assume that the only color available is black and will continue to scroll through the page rather than clicking to view the hoodie. You can loose the click without even realizing it.
Combined listings display color swatches on the collection view, and when a user taps a swatch, the corresponding card is shown. This is the single biggest conversion lift for apparel stores, because it surfaces out of inventory that the user would have no idea exists.
View the collection page swatch display guide here. Most themes will render a color swatch collection page out of the box. However, the app supports 70+ adjustable CSS variables so you can ensure that the swatch display on your collection page matches with your site’s brand and style.
Grouping when you have hundreds of designs
Building a custom apparel catalog is big work for a medium-sized brand with 200 designs across 4 different types of garments and 3 different fits. 2400 products need to be organized and grouped correctly – manually this would take a week.
This is what AI Magic Fill exists for. The powerful new auto-grouping engine will scan through all the product titles, tags and other metadata and then make some smart suggestions on how to group them. Any apparel store (and most shops are mostly apparel since POD platforms dictate how you name products) will find that the initial grouping will already be spot on, and you can just review and approve all of the suggestions in bulk.
Title can be a mess? Tag and group by tags. Using something like RUBIK::GroupName::OptionName::Value in a tag and the app will make the connections in the display. See bulk grouping methods for more.
Print-on-demand and POD apps
Most custom apparel is listed as separate products on websites such as POD apps Printful, Printify, Gelato, and Teelaunch. Even though various blank types may look the same, they are generally listed as separate products within the same Shopify store (i.e. 5 products for one design named “Vintage Mountain Logo” with 5 different blanks: a tee, long sleeve, hoodie, crew neck, and tank).
Showing all 5 options as combined listings would be the best way to present them as one product family, “Vintage Mountain Logo” with the individual garment type as the swatch row. So, both options would show up under the same family, customer chooses the option they like best, then they can select from the color and size pickers appropriate for that individual product. The POD integration for each individual product will still work because that is integrated at the product level and Rubik does not interfere with cart/fulfillment flow.
If you also want the images on the product page to change when customers click on a colour switch (so the mockup front and back change to the correct colour), consider also getting Rubik Variant Images. These two apps are designed to work together to provide combined listings and images which can be set to change variant.
Why this actually works for apparel
Apparel products are often shoppers’ purchase decisions. They are visual product lines that apparel shoppers buy based on image. Because Apparel products are often shoppers’ purchase decisions. The split-product approach is a surefire way to kill conversion, but shows options to shoppers. Within combined listings, you can include as many variants as shopify’s variant cap will allow, without manually having to create all of them on one screen.
Weird I have to use a 3rd party app to lift my product variant cap or to create product groups. This is an easy fix for shopify to implement lifting the cap on variants or creating a native groups feature. However, this is a decent workaround and doesn’t take too long to upload products and it doesn’t break any other sections of the site.
See the live demo store, watch the tutorial video, or read the getting started guide.
Quick helpers before you wire this up: try our free product grouping planner and separate vs variants decision tool. For the deeper background on this topic see our Shopify combined listings and SEO guide.
Frequently asked questions
How do I use combined listings for custom apparel on Shopify?
Install Rubik Combined Listings extension. Divide apparel products by fit, fabric or type of garment into separate items to comply with 100 variants limit per product. Use functions of AI Magic Fill to merge grouped products into one product with variants having matchable swatches. Swatches load corresponding items.
What if I have more than 100 variants?
Organize products by the largest axis of variation (i.e. by fit or by fabric) and group variations together with compiled product pages. Note that the underlying products would each have less than 100 variations (i.e. a “sleeveless” version of a hoodie would be a separate product from the regular hoodie). However, those variations would be presented through swatch options on a single unified product page.
Does this work with Printful or Printify?
Yes. Each design will be imported as a separate blank to create separate products on your Shopify store. These individual products can then be grouped together into Combined Listings to create a single listing with multiple variations for a single product family. Since the Rubik listings are separate from the cart and the store’s fulfillment processes, this will not interfere with your print on demand integrations.
Can I show color swatches on collection pages?
Yes. Product combination display includes product color options which show up as swatches on collection pages. You can click / hover on the swatch to change the product image view. Fully responsive and works with 350+ themes and all 7 page builders.
I have 1000 apparel SKUs. Can I group them in bulk?
Yes. This AI Magic Fill tool can auto-detect groups both from product titles and tags. For very messy product names, you might consider just adding some tags of the form RUBIK::GroupName::OptionName::Value. And again, this can handle thousands of products just fine.
Should I make fit and fabric Shopify variants or separate products?
Products with different dimensions split as separate products. If you are using different fit and fabric then these would have different prices, weights and shipping classes making it easier to manage fulfillment. Listed together as a single combined product within a listing to present visually as one product page.